
Create “Generic / Text Only” Printer
Description: Create the “Generic / Text Only” Windows printer that is used on our POS systems with the below steps.
Note: This guide was written based on Windows 10.
To begin adding a printer,
- Select Start and go to Printers & scanners.
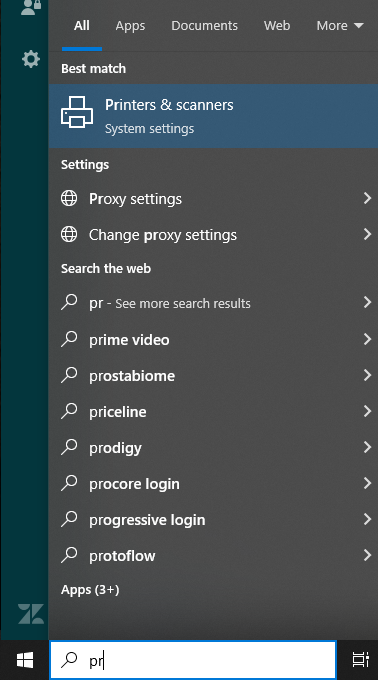
2. Select Add a printer or scanner.

3. Select The printer that I want isn't listed.

4. Choose Add local printer or network printer with manual settings, then select Next.

5. Select the COM port that has been assigned for the Virtual COM Port, then select Next.

6. Select the Generic / Text Only printer under manufacturer Generic, then select Next.

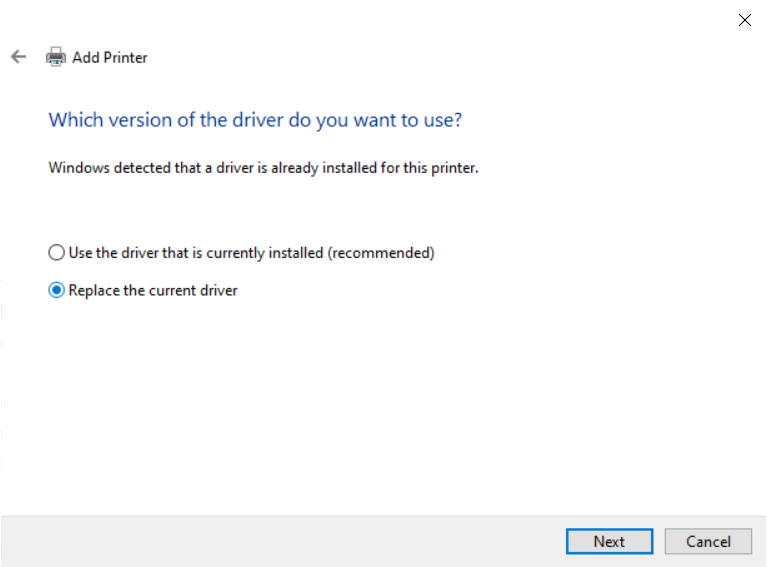
If you’re asked what version you want to use, select Replace the current driver, then select Next.
7. Enter the printer name and then select Next.
8. Verify the correct name in the Share name field and then select Next.

9. Select Finish to complete the setup. Do Not press “Print a test page” because the baud rates have not been set up and this will most likely fail.

10. Select the newly created Generic / Text Only Printer in Printers & scanners, select Manage, then select Printer properties.

11. Select the Ports tab.
12. Select the newly created port, then select Configure Port.

13. Select the appropriate Baud Rate from the following options, then select OK to save.
-
- Sinocan P06: 19200
- Sinocan P11: 19200
- Epson TM-20II: 38400
- Epson T-20: 38400
- Seiko SII RP-D10: 115200