Connect Accounts in Enterprise for Appetize
Description: You'll learn to set up and manage Connect accounts in Connect Online, including creating user accounts, assigning roles, access levels, venue assignments, temporary access, and reviewing account history.
A Connect account allows a user to have access to Connect Online to view reports, configure settings, access orders, etc.
Note: A Connect Role must be created prior to creating a Connect account.
Configure Connect Accounts
Select the Connect Accounts icon under the Accounts section on the Enterprise Corporate Dashboard.

Main overview
- Search bar: Searchable by any field header.
- Filter: Sort by any field header; by default, the page is sorted alphanumerically by Login.
- Delete: Delete the Connect account.
- Login: User's Name
- Login id: The username to log in to Connect.
- Type: Venue or corporate level access.
- Role: Connect role and associated access level.

Add Account
- Select Add Account in the upper right corner.
- From the type dropdown, selet Connect.
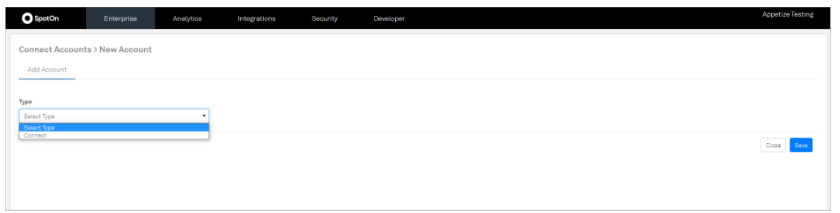
- Fill in the fields below.
- Enterprise Level: Access on the Corporate or Venue Level.
- Name: User's Name.
- Email: User Email
- Login ID: Username to access Connect
- Login ID is a globally unique field that cannot be reused if an account is deleted.
- Password: Password to access Connect
- Force Password Reset: If set to yes, it requires the user to reset the password as configured in Security Settings.
- This setting allows users to configure their own password.
- Connect Role: Choose the appropriate Connect Role to allow access.
- Is Active: Set to No if the user should no longer have access to Connect, but the account can't be deleted.
- Is Temporary (Optional): This allows a user temporary access to Connect that will expire based on the time frame chosen.
- Select the Save button in the lower right corner when complete.

Venue Assignment
Note: The account must be saved before assigning it to a venue.
- Select the Venue Assignment tab after saving the account.
- Select Add Venue to view the available venues in the Corporate.
- Select Assign to add a venue.
- Once added, there is an option to give Temporary Access to that specific venue.
- Select Yes and fill in the Start Date and Expiration Date if applicable.

- Select Yes and fill in the Start Date and Expiration Date if applicable.
History
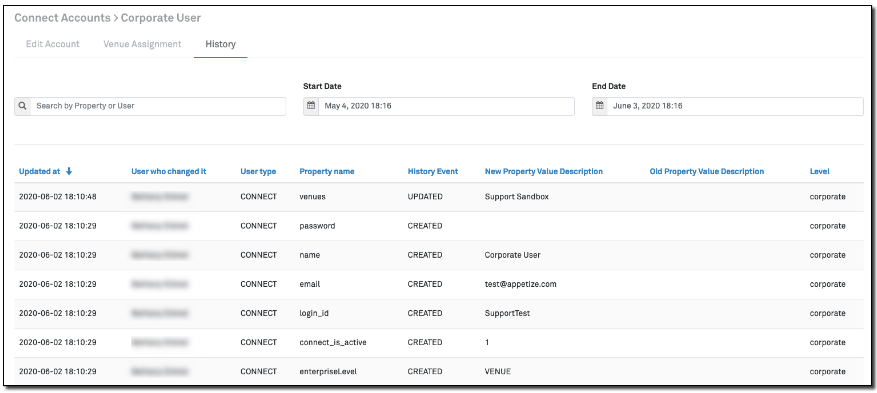
The History tab shows changes made to properties within the Connect Accounts module.