
Description: Price Levels are changes that can be made on a large scale to set an alternative price for items depending on the Event and Vendor at a Venue. For example, items may be priced differently during a sporting event than they are during a concert. From a corporate view, this would be used when corporations are utilizing the same menu items, but different prices based on store locations.
There are several areas of Connect that will require configuration concerning Price Levels.
- Price Levels – Creating/Maintaining specific Price Levels that can be activated at the Venue level.
- Items/Prices – Set the price for the Item and each of its available Price Levels.
- Vendor - Assign a Price Level to an individual Vendor.
Price Levels
To access Price Levels, navigate to the Price Levels button within the Items section of the Enterprise Connect Dashboard.

Create Price Level
- Select the Add Price Level button.

- Enter a Name for the Price Level.

- Select Save.
Configure Price Level
- Select a Price Level to edit.
- Select the Assigned Venues tab.

- Select Add Venue.
- Then select Assign next to the venues.

- Once the Price Level is assigned to a venue, it can then be Activated.
- Select Activate to enable the Price Level at the venue so it can be utilized.

- Select the History tab to view any changes made to the Price Level.
Item Prices
Activate will look for pricing in the following order. If an option does not exist, then it looks at the next criteria to determine the current price.
- The Item price associated with the active Price Level on the Venue.
- The Price assigned to that Venue and Level from Corporate Enterprise Items > select item > Prices.
- Assumes a Price Level is assigned to the Venue, set to Active and the Vendor is actively using.
- The Item Price from the Corporate Enterprise Menu Items > select item > Details > Price.
Configure Prices on Items
Once a Price Level is created, the Item Price can be set for each Price Level.
- Select Items under the Items section on the Enterprise Corporate Dashboard.
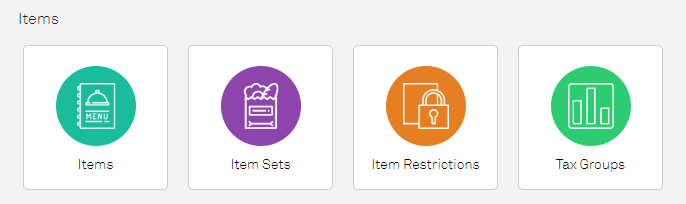
- Search for and select an item to edit.
- Select the Prices tab.
- All of the available Price Levels will be listed in the Price Level section.
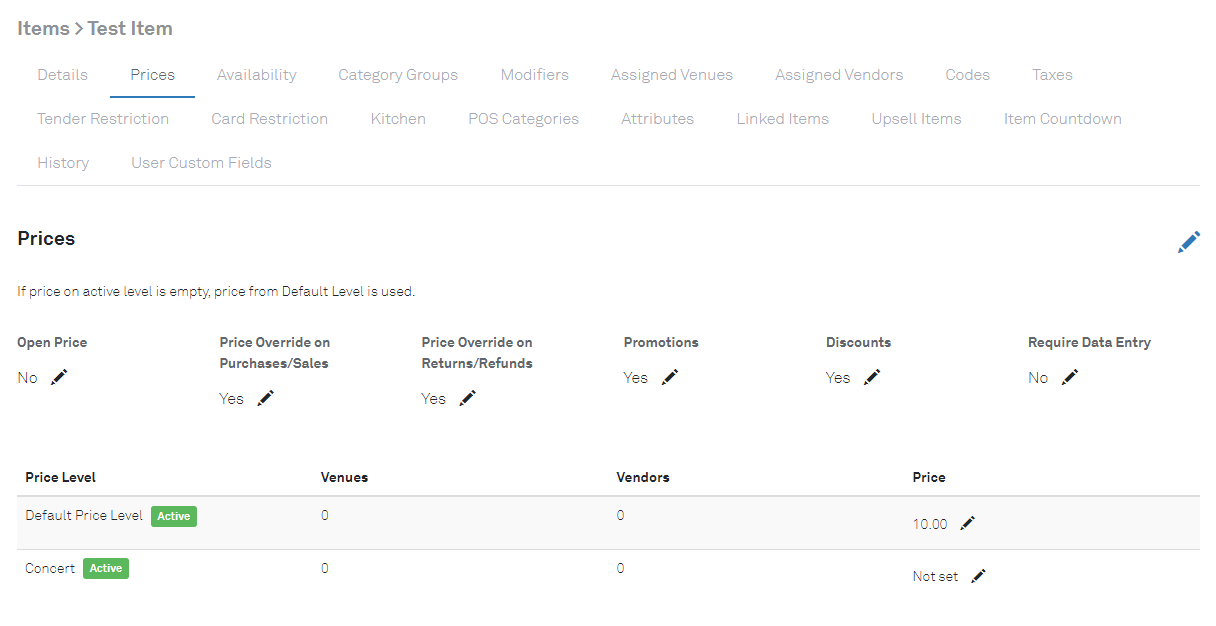
- Click on the Pencil icon next to a Price Level to update the Price.

- Enter the new value and hit Enter/Return to Save.
Note: Connect Users with permissions at the Venue level will have the ability to edit the price assigned to a Corporate Price Level. This will not override the Corporate price and will only update the item at that venue.

Assign a Price Level to a Vendor
Once a Price Level is created at the Enterprise level and Assigned to a Venue, then you can go to the Local Venue and set the Price Level a Vendor should utilize
- Log in to the Venue from the Corporate Dashboard.

- Select Vendors from the left side menu.

- Search for and select the Vendor to edit.
- Click on the Pencil icon under Price Level.

- Select a Price Level to assign to the Vendor.

- The Vendor will now utilize the prices associated with that Price Level for all Items.
- Choose Not Set to reset to Venue level settings.
Note: If a Price does not exist for that Price Level, the POS will utilize the default price for the Item.
