
Description: Learn how to install and set up the Bump Bar.
Note: The Bump Bar requires Kitchen Display System v1.29 or higher.
Helpful Resources:
- Visit the Bump Bar Specifications article for an overview.
- Visit the Use the Bump Bar article to learn how to use it.
Install the Bump Bar Bracket
- Attach the mounting bracket to the Bump Bar using the included small screws.

- Optionally, mount the Bump Bar to the wall with the included, longer screws.

Connect the Bump Bar to the Kitchen Display System
USB Connection
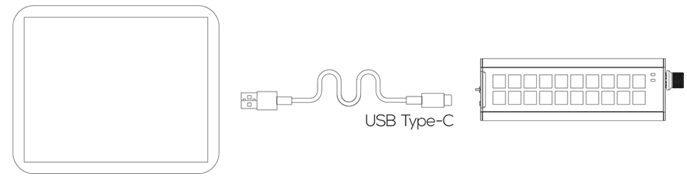
- Insert the USB-C end of the cable into the Bump Bar.
- Route the cable under the retention clip, as shown.

- Insert the other end of the USB cable into the Display terminal.
- Secure the cable to prevent it from potentially causing a hazard in kitchen operations.
- The LED will briefly turn green when the Bump Bar is in USB mode.
- Press any key on the Bump Bar to see its corresponding function on your Display screen.
- Rotate the knob to scroll through your Display screen.
- Visit the Bump Bar usage article for additional information.
Notes:
- The green LED indicates USB communication.
- When a cable is connected, USB mode takes priority over wireless. The Bump Bar will automatically switch to USB mode when a power and data USB cable is connected, even if it starts in wireless mode.

