
Shift4 One Onboarding Workflow (Australia)
Description: Learn how to complete the first-time onboarding experience in the Shift4 One application, including language selection, internet setup (WiFi or Cellular), and final security to begin taking orders.
Availability: Australia
Overview
When you download and open the Shift4 One application for the first time, you are guided through a series of required onboarding steps. These steps ensure the device is properly connected, configured, and ready for use.
Initial Onboarding
1. Launch the Application
- Open the Shift4 One application from the device’s home screen.

- This is the first screen displayed when the app is opened for the first time. No action is required at this step.
.png?revision=1)
2. Select Language
- Select your preferred language.
.png?revision=1)
Note: This setting can be changed later if needed. - After selecting a language, select Continue.
3. Choose Internet Connection Type
You are prompted to connect the device to the internet. Two options are available:.png?revision=1)
- Connect to WiFi
- Set up Ethernet
If you prefer to use Cellular as your internet connection, refer to the Cellular Onboarding Flow section below.
4. WiFi Connection Flow
WiFi Setup Reminders
- Review the reminders and instructions for connecting to the WiFi display.
- Once these have been completed, select Continue.
Select WiFi Network
- Choose the desired WiFi network from the list. This is the network the device will operate on.
.png?revision=1)
- After selecting the network, the next screen appears automatically. There is no Continue button on this screen.
Downloading Resources
- Once connected, the device begins downloading location resources. No action is required.
.png?revision=1)
Cellular Onboarding Flow (If Using Cellular Internet)
1. SIM Card Setup
- You are prompted to insert a SIM card and restart the device.
.png?revision=1)
- After completing this step, select Continue.
2. Mobile Data Settings
The following mobile data options display:.png?revision=1)
- Mobile Data: Used as the primary internet connection when WiFi is unavailable.
- Data Usage: Displays the amount of cellular data used by the device.
- Data Saver: When enabled, it limits overall data usage.
- Hotspot & Tethering: Allows the device to share cellular internet with nearby devices.
To proceed, slide the toggle to enable Mobile Data.
3. Cellular Connection
- The device will begin connecting to the cellular network.
.png?revision=1)
- This process may take up to 10 minutes. No further action is required during this time.
Connection Confirmation
- Once connected, the user will see a "Connection Successful" message. No action is required.
.png?revision=1)
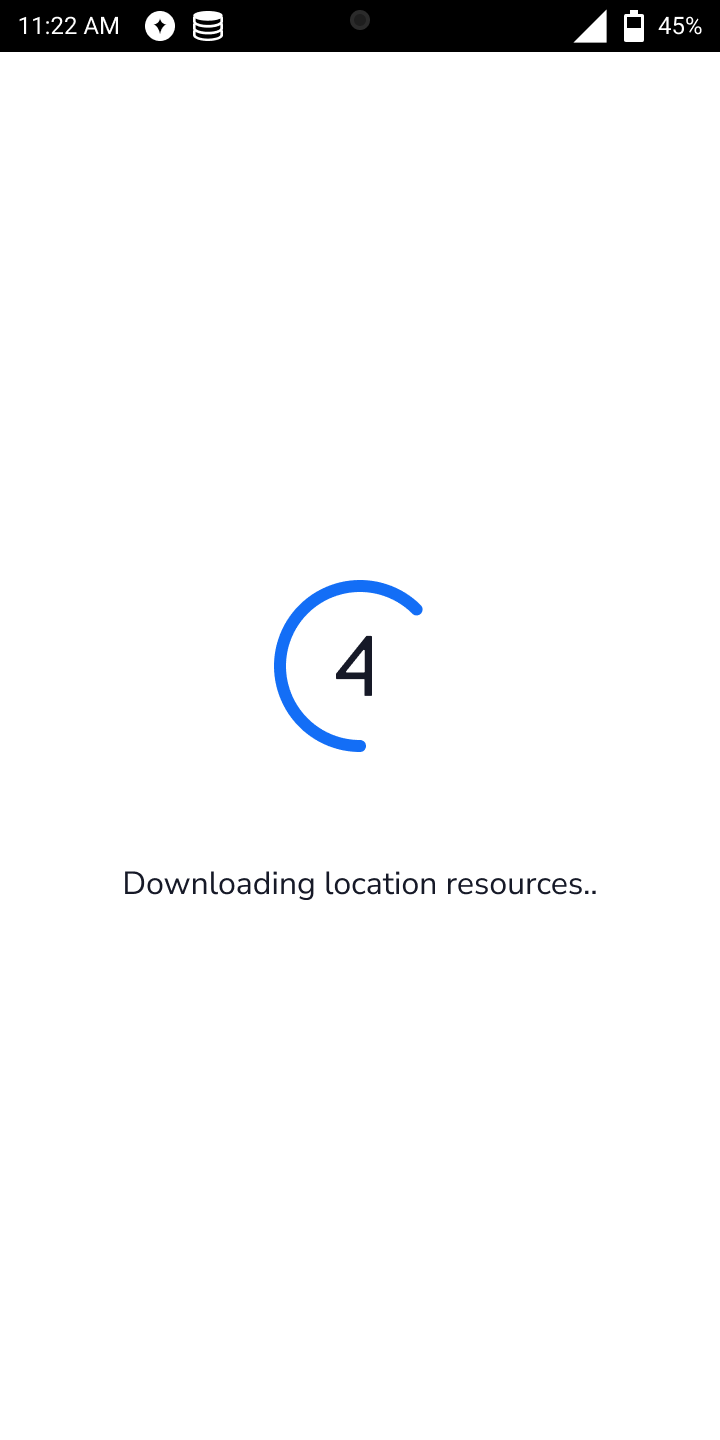
Downloading Resources
- Once on cellular, the device begins downloading location resources. No action is required.
.png?revision=1)
Setting Up PIN
These are the final steps of the onboarding flow. Once these are completed, you have full access to the application.
Create a PIN
- You are prompted to create a 6-digit PIN.
.png?revision=1)
- This PIN is required to access sensitive features such as:
- Reports
- Receipts
Make sure you remember this PIN for future use!
Completion
Once logged in successfully:.png?revision=1)
- Onboarding is complete
- You have full access to the application, and the device is ready to take orders